Windows Remote Assistance is a tool that Microsoft has integrated into the Windows 7 operating system. It is in many regards similar to popular remote access applications like Teamviewer, as it allows Windows 7 users to ask someone else to take a look at their computer system over a local area network or the Internet.
The person looking at the computer can help troubleshoot PC issues by taking control over the user PC.
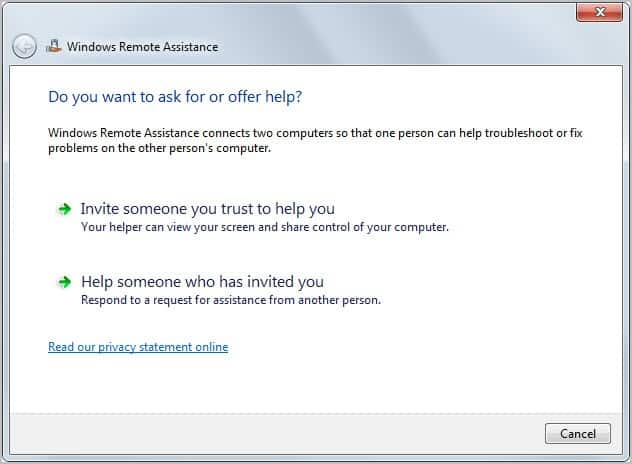
The process of setting up the PC to accept remote access requests is simple. Windows users first need to open Windows Remote Assistance by clicking on the start menu, and following the path All Programs > Maintenance > Remote Assistance. The following window will pop up upon execution of the program.
Two options are available:
- Invite someone you trust to help you – Your helper can view your screen and share control of your computer
- Help someone who has invited you – Respond to a request for assistance from another person
Please note that only invited users can connect to a PC remote using the feature. Your computer is safe if you have never configured invites for remote sessions before.
Select the invite option if you want someone to take a look at your computer. Some scenarios that come to mind are your parents that need help with a computer problem while you are in college, friends that require assistance and even business related aid if there is more than one office available.
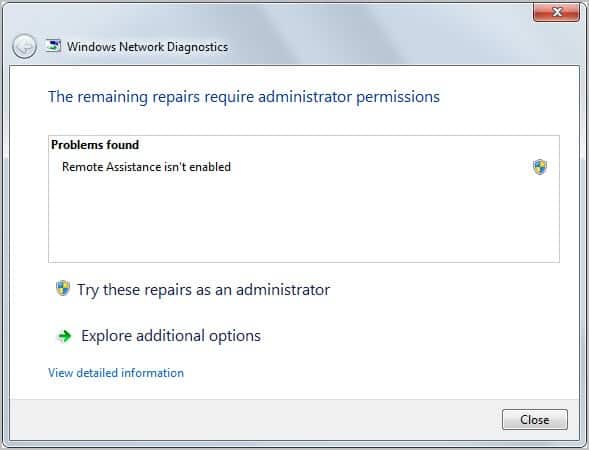
A repair option may be presented to you. Windows will automatically check if the computer is properly configured to send invitations. Just click on repair to resolve the issues. This intermediary screen will for instance pop up if the Remote Assistance service is not enabled on the PC.
Please note that you may need administrative rights to run the repair on the PC. You may also need to restart the Windows Remote Assistance wizard after the repairs have been completed.
The next screen is about sending out the invitation. Three options are provided of which only some may be available.
- Save this invitation as a file – You can send this invitation as an attachment if you use web based e-mail
- Use e-mail to send an invitation – If you use a compatible e-mail program this will start the e-mail program and attach the invitation file
- Use Easy Connect – Use this option if Easy Connect is also available to your helper
Note that the Easy Connect option may not be selectable. This can be the case if both computer’s are not running Windows 7, if access to the Internet is limited, or if the router does not support Easy Connect.
You basically create a file in this step that the remote user needs to access on a second PC to establish the remote connection to your PC. The setup program furthermore generates a unique password that needs to be entered to establish the remote session.
All you need to do now is to wait for the remote worker to connect to your PC. A click on Chat opens a chat window, which may be helpful if you do not have other means of communication.
A click on Settings opens a preferences window where you can configure bandwidth usage (configured low by default), whether you want to log sessions and if the ESC key should stop the session.
The screen will change slightly once a remote connection has been established. You will then see a Pause button to pause access to the system temporarily and a stop sharing button. Pause is useful if you need to leave your computer for a moment.
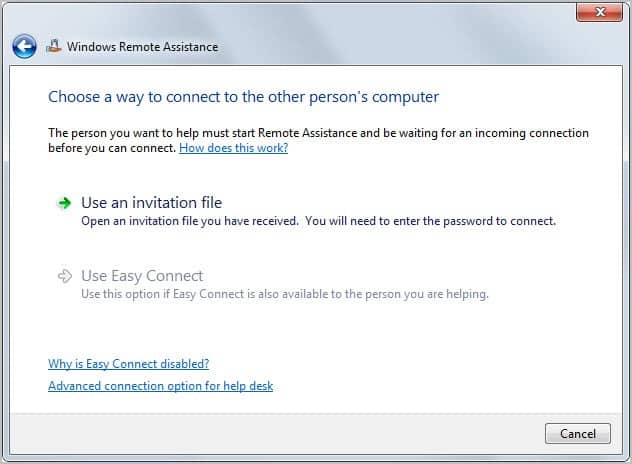
When you are asked to help someone, you perform almost identical steps. You first need access to the invitation file and the password. Start Windows Remote Assistance afterwards and select one of the available options:
- Use an invitation file – Open an invitation file you have received. You will need to enter the password to connect.
- Use Easy Connect – Use this option if Easy Connect is also available to the person you are helping.
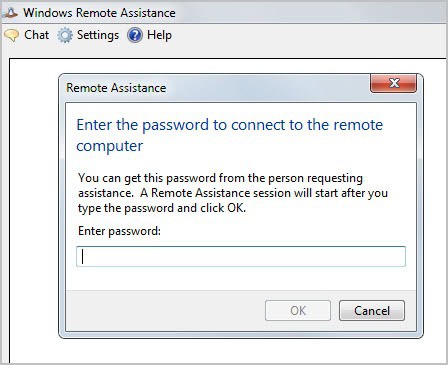
You are asked to enter the password in the second setup step.
Once done you can access the remote PC with your mouse and keyboard for as long as the session stays up.
Remote Assistance and Remote Desktop offer configuration options that you may want to take a look at. Enter Allow remote access to your computer in the Windows 7 start menu form and select the option that appears. You should see the following screen.
You can enable or disable the feature directly on the first screen, or click on the Advanced button to change the time the computer will accept connections from invited users. The default wait time is set to six hours which you can change to minutes, hours or days instead.
Here is a video demonstrating the setup and functionality
You find more information about Windows Remote Assistance at the Windows 7 News website.
Have you tried the remote assistance feature of Windows 7? If so, what was your experience?
© Martin Brinkmann for gHacks Technology News | Latest Tech News, Software And Tutorials, 2012. | Permalink |
Add to del.icio.us, digg, facebook, reddit, twitter
Post tags: remote assistance, windows tips


0 comments:
Post a Comment